Dabbling in Electron
JavaScript is everywhere. Even though it has a history of polarizing developers, we can not deny the large impact that it has on the current technology ecosystem. This ecosystem has sparked multiple interesting projects, one of which is Electron.
Electron is a framework to build cross-platform applications with the current web technologies. This means that a web developer can create a great desktop application that can work on virtually any desktops, without having to learn multiple languages or different technology ecosystems.
As for myself, I will experiment with the framework to create a music player that will manage my music library, with a few more features down the road. Let's begin!
To start our project, we first need to install Node.js. Node is an open-source runtime environment to execute JavaScript code on the server-side. The Javascript engine is powered by Google Chrome's JavaScript engine, V8. Node comes with its own package manager, NPM, that has clear inspirations from CPAN.
To install Node.js on Windows machines, you will need to execute the MSI file, while on Apple machines you should execute the PKG file. They are available for download here. Finally, on Unix machines, you can run the following command instead to install Node.js.
$ curl -L https://www.npmjs.com/install.sh | sh
Once Node.js is installed, the next step is to create a package.json file in our project folder. The package.json file is a great place to store all the metadata about your project. Indeed, it can store the information about the project's name, version, author, license, and repository. All that information is stored, and it can be made publicly available through the NPM repositories.
To initialize the package.json file, you can type the following command, and follow the instructions.
$ npm init
After a few questions, you should have a package.json that look like the following file. Do not worry if your file does not correspond to what I have, since we will be customizing it shortly.
{
  "name": "agate",
  "version": "0.0.1",
  "description": "Electron-based music player",
  "main": "index.js",
  "scripts": {
    "test": "echo \"Error: no test specified\" && exit 1"
  },
  "repository": {
    "type": "git",
    "url": "git+https://github.com/Dilatorily/agate.git"
  },
  "keywords": [
    "Electron",
    "React",
    "Redux",
    "Music"
  ],
  "author": "Dilatorily",
  "license": "MIT",
  "bugs": {
    "url": "https://github.com/Dilatorily/agate/issues"
  },
  "homepage": "https://github.com/Dilatorily/agate#readme"
}
The only required fields in the file are the project's name and version. Also, note that NPM uses Semantic Versioning as its versioning scheme for its packages. For more information on the package.json format, read the documentation page. It should describe every field and their purpose.
As we are dealing with rather new technologies, let's also use the latest version of JavaScript. JavaScript, much like other languages such as Java, has a specification that describes the language, that is completely separate from its implementation. As such, the JavaScript specifications, ECMAScript, was updated in June 2015 to its 6th edition. The new set of specifications, also known as ES2015, adds multiple new features to the language, but they are not currently supported by all browsers. A smaller update, known as ES2016, was released earlier this year in June 2016.
Since the current JavaScript engines do not all support all of the features from ES2015, we can use a transpiler to use the JavaScript of tomorrow, today. A transpiler is a program that translates the source code from a language into the source code of another language. The transpiler that we will use is Babel since it also supports other features that we will be using. To install Babel in our project, we can run the following command.
$ npm install --save-dev babel-cli
In the command above we are telling NPM to install the babel-cli package in our project. The --save-dev argument tells NPM to add the dependency in the devDependencies field of out package.json file. Finally, the babel-cli package is the command line interface to interact with Babel. We can also use some shortcuts to save some keystroke. install can be reduced to i and --save-dev to -D. Using those shortcuts, we can rewrite the command above into the following one.
$ npm i -D babel-cli
Even though we installed Babel, we must configure it to transpile ES2016. Fortunately for us, Babel has preset configurations that let us use the features from ES2015 and ES2016. To configure Babel, we must add a .babelrc file in our project. The contents of that file should be the same as the following one.
{
  "presets": ["es2015", "es2016"]
}
We also need to install the presets using the following command.
$ npm i -D babel-preset-es2015 babel-preset-es2016
Finally, to use Babel in our project we can run the following command. That command will transpile all files from the src folder and put the results in the dist folder.
$ ./node_modules/.bin/babel src -d dist
Now that we have most of our dependencies, let's play with Electron! First, we need to import the Electron dependency in our project. Again, we will install it using NPM.
$ npm i --save electron-prebuilt
This time, we are saving the dependency in the dependencies field of the package.json, since our application will have a direct dependency to the Electron binaries. We can also use the -S shorthand instead of --save to save a few keystrokes.
A great feature of Electron is that we can use HTML markup to describe our application's layout. As such, let's create an index.html file in the src folder that will be used in our application.
$ mkdir src
$ touch src/index.html
To start, the contents of the index.html file can be as simple as the following snippet.
<!DOCTYPE html>
<html>
    <head>
        <meta charset="utf-8" />
        <title>Agate</title>
    </head>
    <body>
        <h1>Hello, World!</h1>
    </body>
</html>
We should also create an entry point to start our application. For that, we will be creating an index.js in the src folder with the following command.
$ touch src/index.js
The content of a simple application is given in the snippet below. The comments were added to explain a few details.
// app controls the application's lifecycle
// BrowserWindow creates native windows
import { app, BrowserWindow } from 'electron';
import { join } from 'path';

// We must keep a reference of the main window, or the JavaScript's
// garbage collector will remove it and close the window.
let mainWindow;

const createWindow = () => {
    mainWindow = new BrowserWindow({ width: 800, height: 600 });
    mainWindow.loadURL(`file://${ join(__dirname, 'index.html') }`);

    // We are listening to the 'closed' event. It is emitted when a
    // window is closed.
    mainWindow.on('closed', () => {
        mainWindow = null;
    });
};

// We are listening to the 'ready' event. Electron will emit this event
// once it is ready to create windows.
app.on('ready', createWindow);

// The 'window-all-closed' event is emitted when all of the Electron
// windows are closed.
app.on('window-all-closed', () => {
    // On macOS, applications stay open until the user quits explicitely
    // with the Cmd + Q keystroke
    if (process.platform !== 'darwin') {
        app.quit();
    }
});

// On macOS, the application stays on the dock tray when the windows are
// closed. This listener is to re-create a window when it is clicked on,
// and there are no windows open.
app.on('activate', () => {
    if (mainWindow === null) {
        createWindow();
    }
});
Now, to try out Electron, all we need to do is run the following commands.
$ rm -rf dist
$ ./node_modules/.bin/babel src -d dist
$ cp src/index.html dist
$ ./node_modules/.bin/electron dist
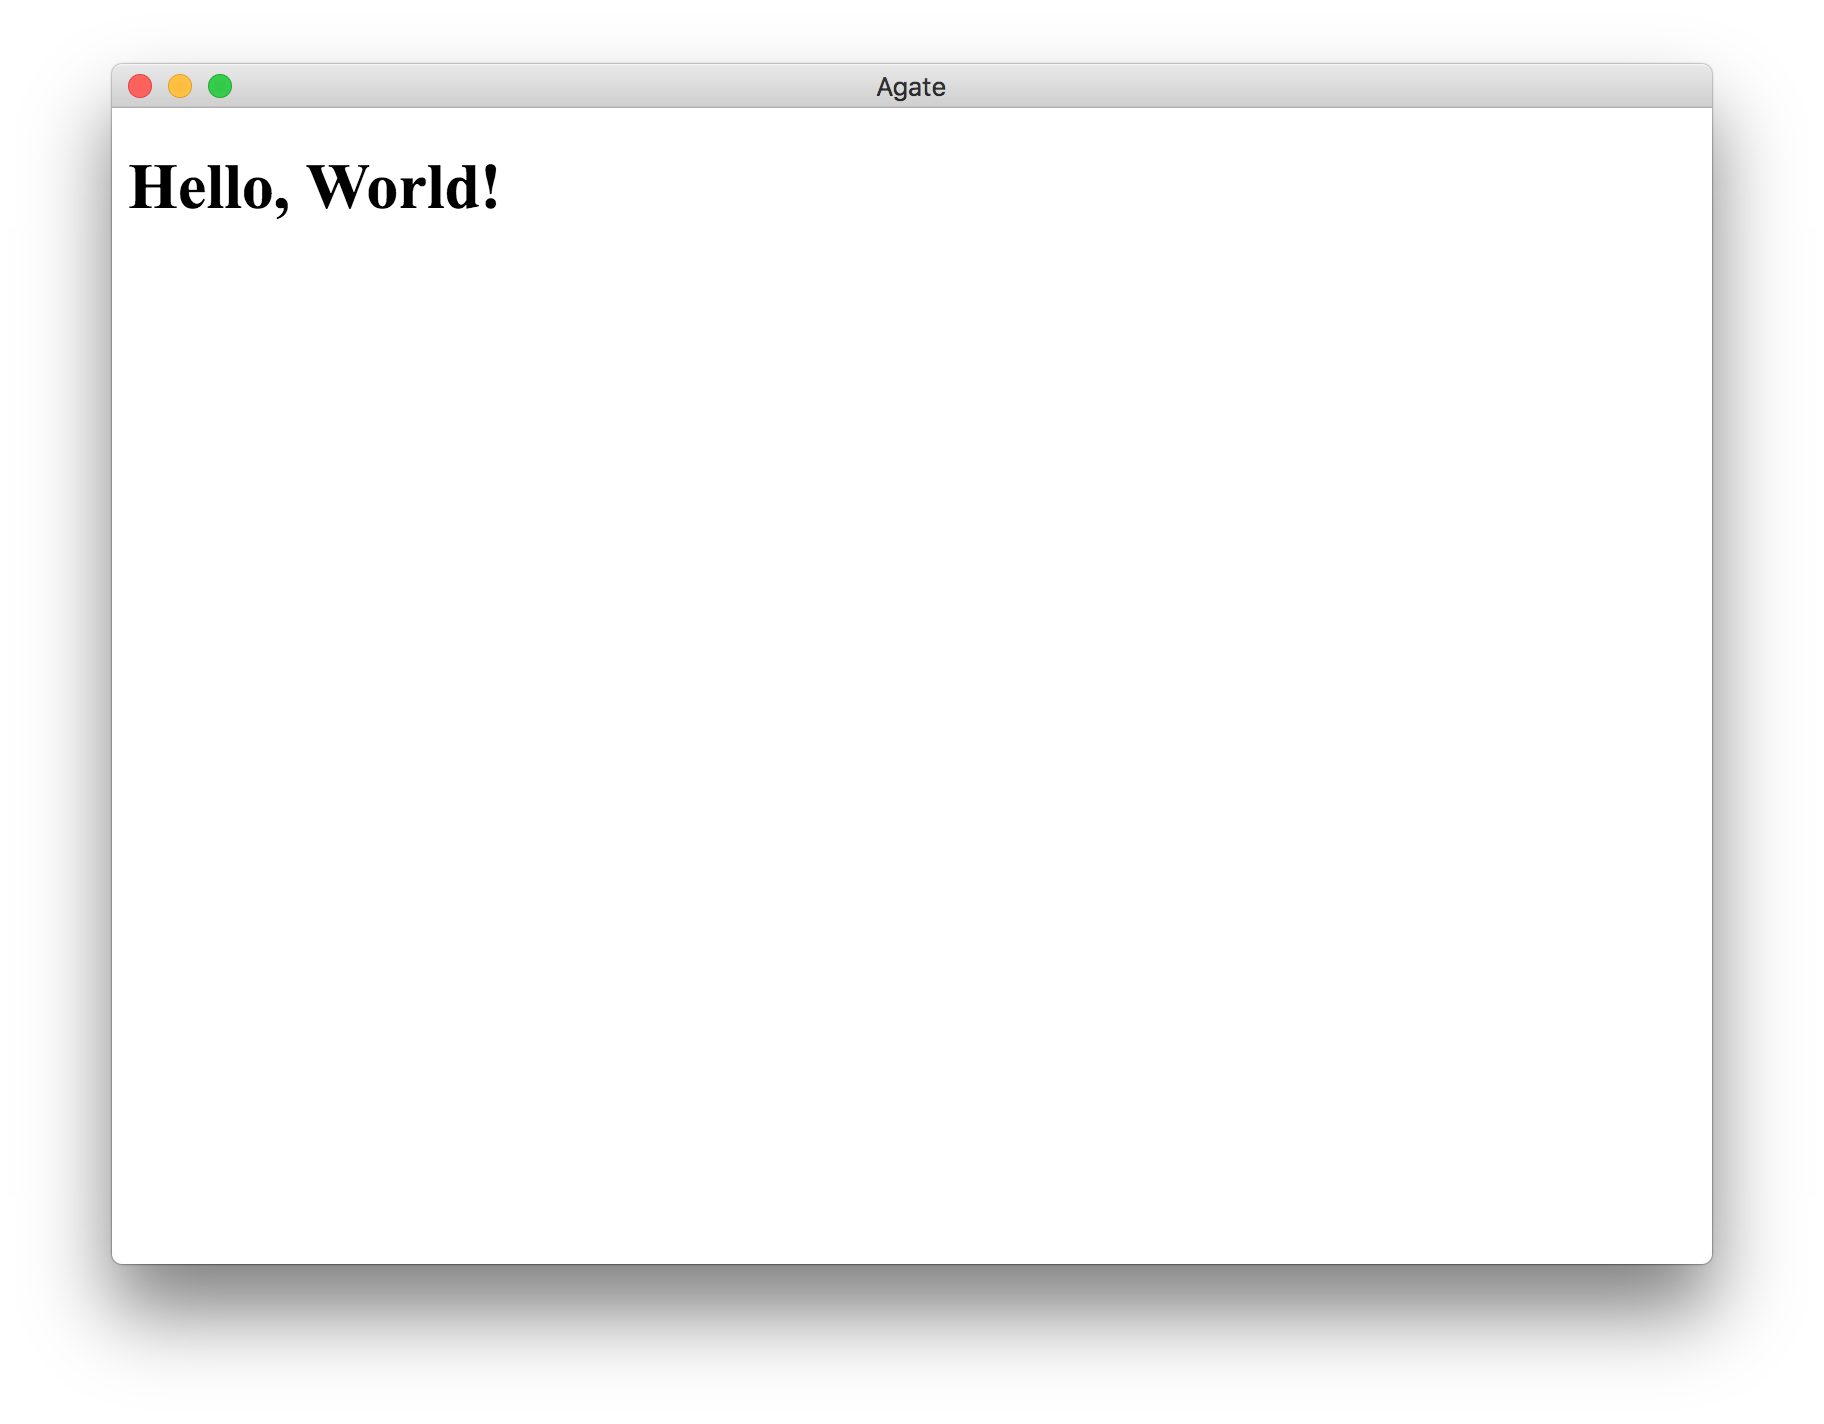
You should now be able to see a window with Hello, World!.
To help us with developing our project, we can use some NPM scripts that will take care of the various tasks related to building and running our application. We will create 3 main tasks to help us with our project.
npm run buildwill apply Babel from oursrcfolder and it will put the results in thedistfolder.npm startwill start the Electron process.npm run cleanwill delete thedistfolder.
Also, to help us with automation, we will create pre-scripts. A pre-script is a command that is executed right before the actual command is run. For example, we want to build our application before we try to start it. So we can write a pre-script for start, named prestart, that will call npm run build.
In the same way, we will create a pre-script for build that will call npm run clean. This will ensure that we are not using an old build when we start our application. To help us with delete folders, we will be using the rimraf module to delete folders recursively in a cross-platform compatible way.
$ npm i -D rimraf
All of those scripts are located in your package.json under the scripts attribute. You should have something like the following snippet. Note that in NPM scripts, the ./node_modules/.bin path is added to the $PATH environment variable, such that we can omit that part from our scripts.
"scripts": {
  "clean": "rimraf dist",
  "prebuild": "npm run clean",
  "build": "babel src -d dist && cp src/index.html dist",
  "prestart": "npm run build",
  "start": "electron dist"
}
Now that your scripts are created, you can simply run a single command to start your updated application!
$ npm start
As we have seen in today's post, the barrier of entry to create a cross-platform desktop application has been lowered with the emergence of the Electron framework. I will continue my next post by adding Webpack in the project.
The code created in this post is available here.